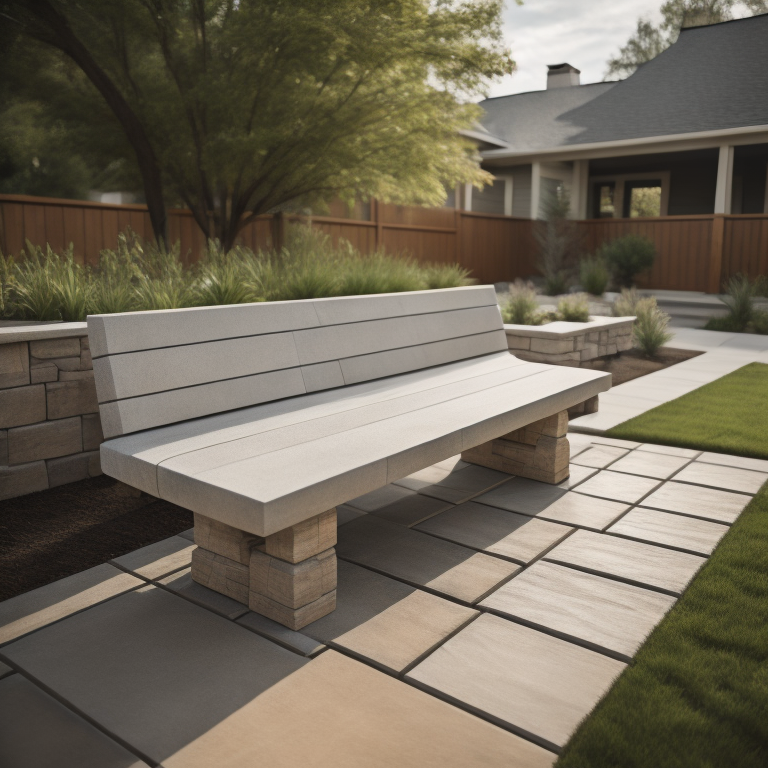
A Step-by-Step Guide: How to Build an Oakwood Flagstone Bench for Your Summer Garden
July 17, 2023
 As the summer sets in, many of us find ourselves daydreaming of sunny days spent in the garden. That’s especially true for those of us that must bear the brutality of frigid winters. To enhance this experience, what better addition than a hand-built oakwood flagstone bench? It’s durable, visually stunning, and adds a touch of rustic charm to your summer garden.
With that in mind, we’ll guide you through the process of building your very own oakwood flagstone bench. So, gather your tools, roll up your sleeves, and let’s get started!
1: Gathering Materials
Here’s what you’re going to need for a nice 4ft bench:
- 4 pieces of 4×4 oakwood, each 18 inches long for the legs
- 2 pieces of 2×6 oakwood, each 48 inches long for the bench top
- 4 pieces of 1×4 oakwood, each 48 inches long for the bench sides and center
- Flagstone pieces, roughly 48×18 inches total for the bench top
- Exterior-grade construction adhesive
- Wood screws (2.5 inches)
- Sandpaper
- Sealant
2: Constructing the Bench Frame
First, we’ll construct the frame using the oakwood pieces. Start by forming a rectangle with two 1×4 pieces for the long sides and two 4×4 pieces for the ends. Secure these together with wood screws to form the top frame. Repeat this process for the bottom frame and connect the top and bottom frames with the remaining 4×4 pieces to create the legs. Finally, secure the 2×6 oakwood pieces in the center of the frame to provide additional support.
3: Attaching the Flagstone
Next, carefully lay out the flagstone pieces on the bench’s wooden top. You can adjust the arrangement until you’re satisfied with the look you’re trying to achieve. Then take each stone and apply a generous amount of construction adhesive to its underside. With even pressure, firmly place it back onto the wood. Be sure to follow the manufacturer’s instructions so the adhesive is allowed to dry completely before moving to the next step.
Step 4: Sanding and Sealing
After the adhesive has set up, be sure to sand down any rough spots on the wood to ensure a smooth, even finish. You’ll need to pay special attention to the edges and corners of the bench to prevent potential injuries. Once you’re done, apply a coat of sealant on the entire bench. This will protect the wood and stone from weather elements, ensuring your bench stays beautiful for years to come.
Step 5: Installation
Finally, choose a suitable spot in your garden for the bench. This could be under a shady tree or near a fragrant flower bed. Make sure the ground is level for stability, and if possible, place the bench on a hard surface like concrete or gravel.
Use proper protective gear during the construction process and if at any point things get too complicated, don’t hesitate to call a professional for help. Evans Construction is always ready to assist with all your construction needs.
Now, take a seat, soak in the summer sun, and enjoy your beautiful, new oakwood flagstone bench!

